Dec 18, 2017 Tags: howto, workflow
This post is at least a year old.
This is a (very) quick tutorial for setting up Pi-hole on a Raspberry Pi.
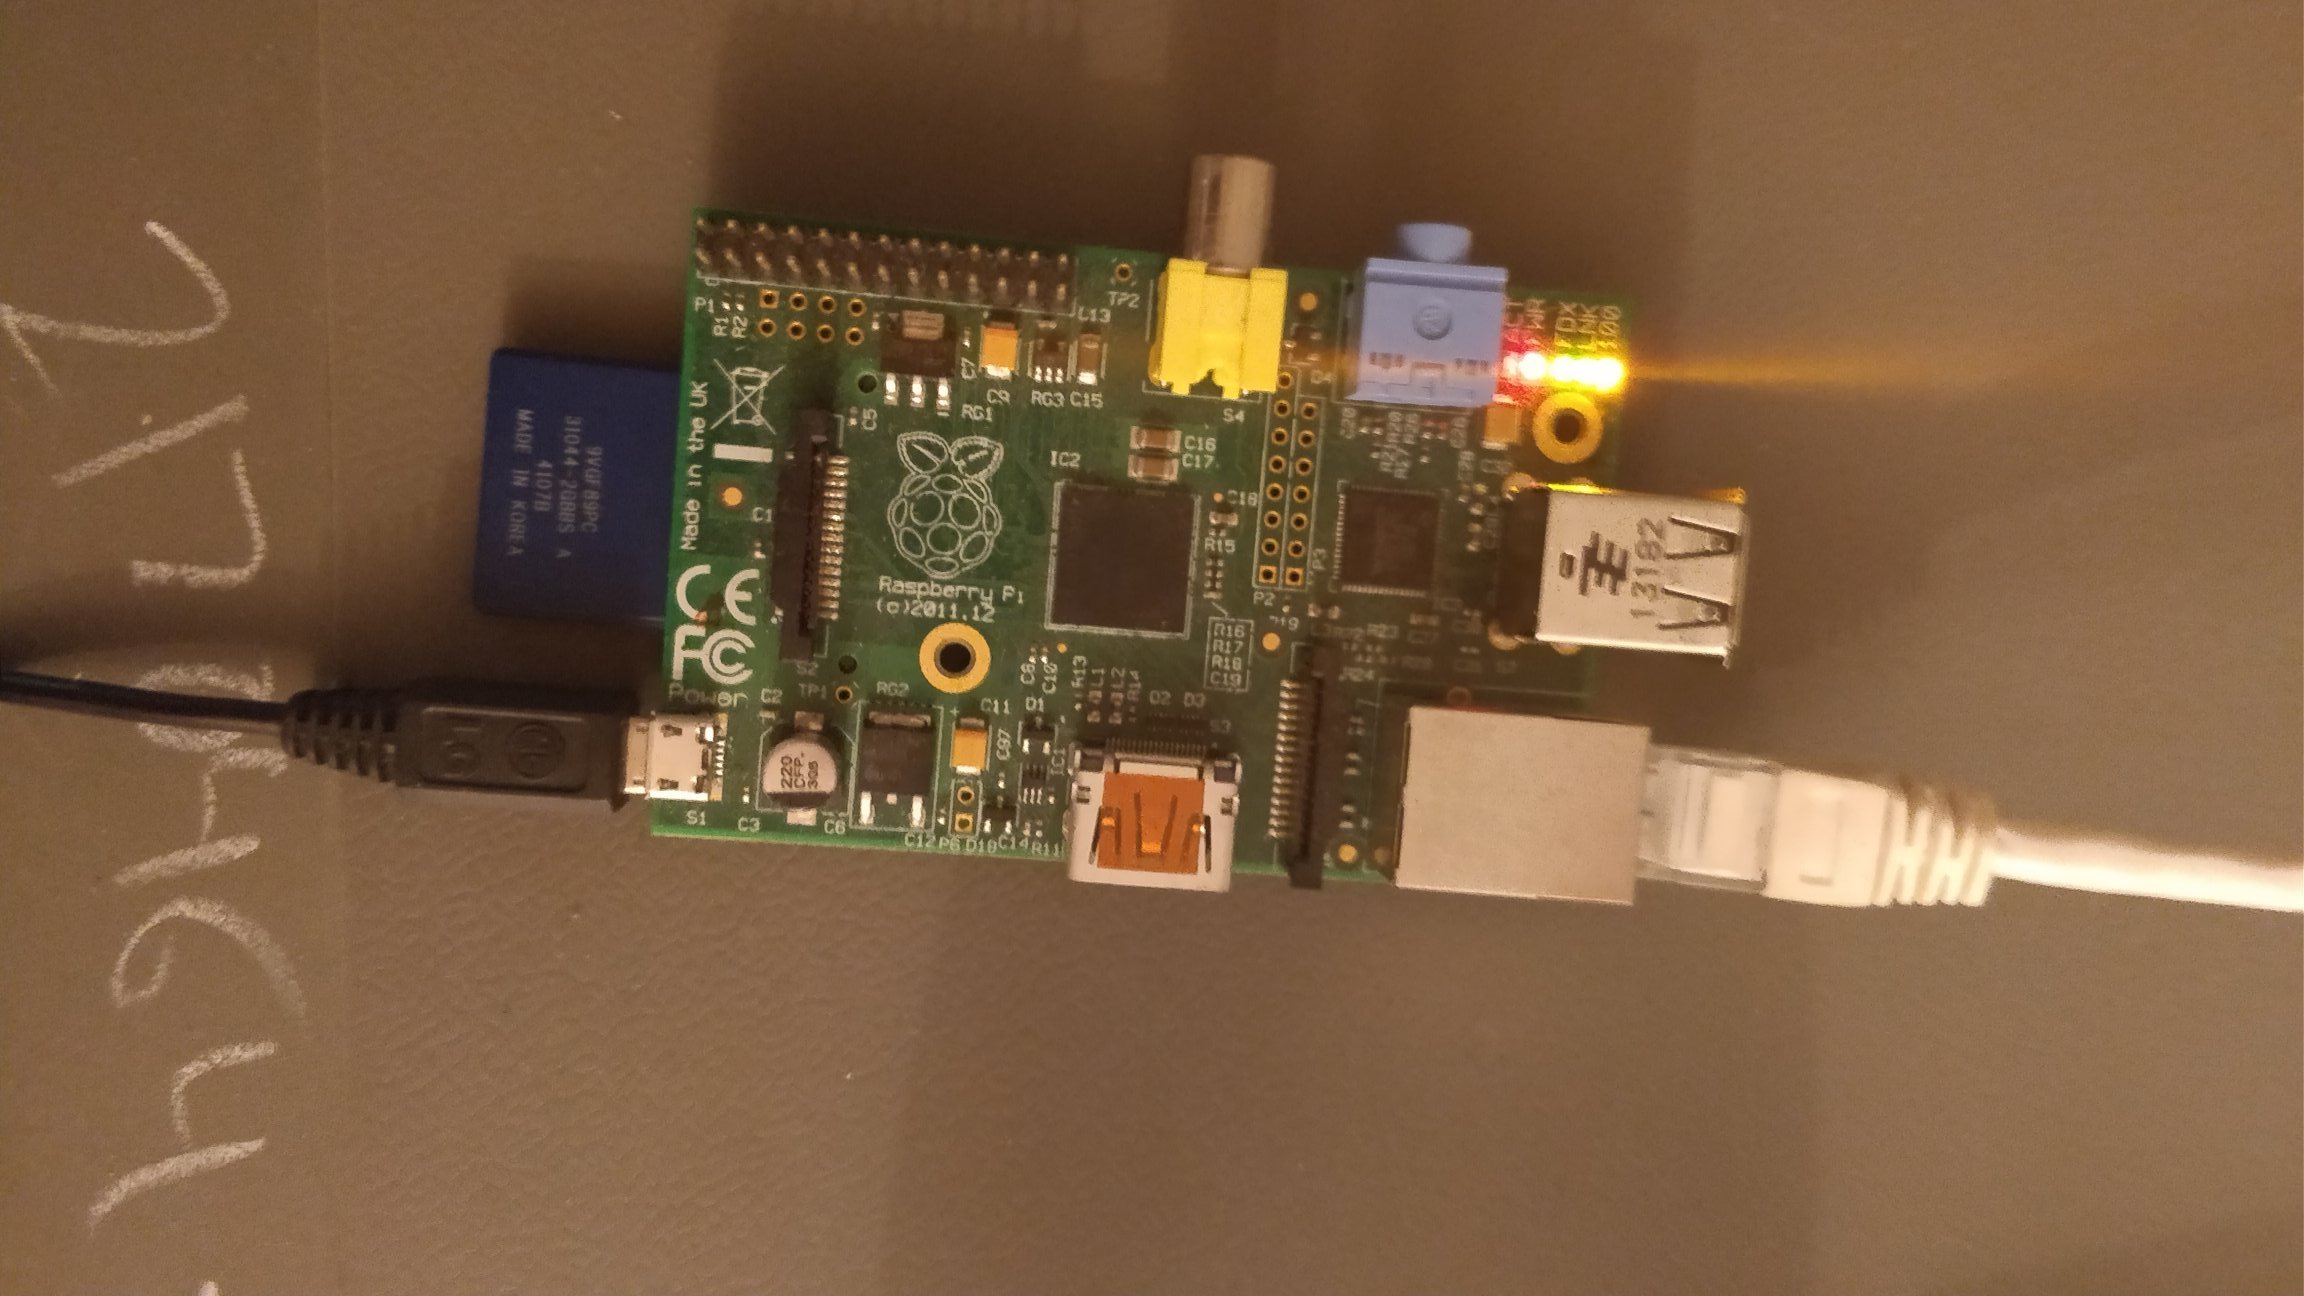
You’ll need a Raspberry Pi (any model is fine, I’m using the original generation Model B), an SD card (I’m using an old 2GB one, which is probably the bare minimum), and a router that allows you to modify its DHCP configuration (pretty much every consumer router), plus an ethernet cable and a power source for your Pi.
For those who don’t know, Pi-hole is a turnkey DNS blackhole: you install it on a box on your home network, give that box a static address, and tell your router to use that address as your DNS server for all DHCP hosts. The result is a network-wide blacklist for known ad-serving and analytics domains, plus the ability to add your own blacklisted and whitelisted domains.
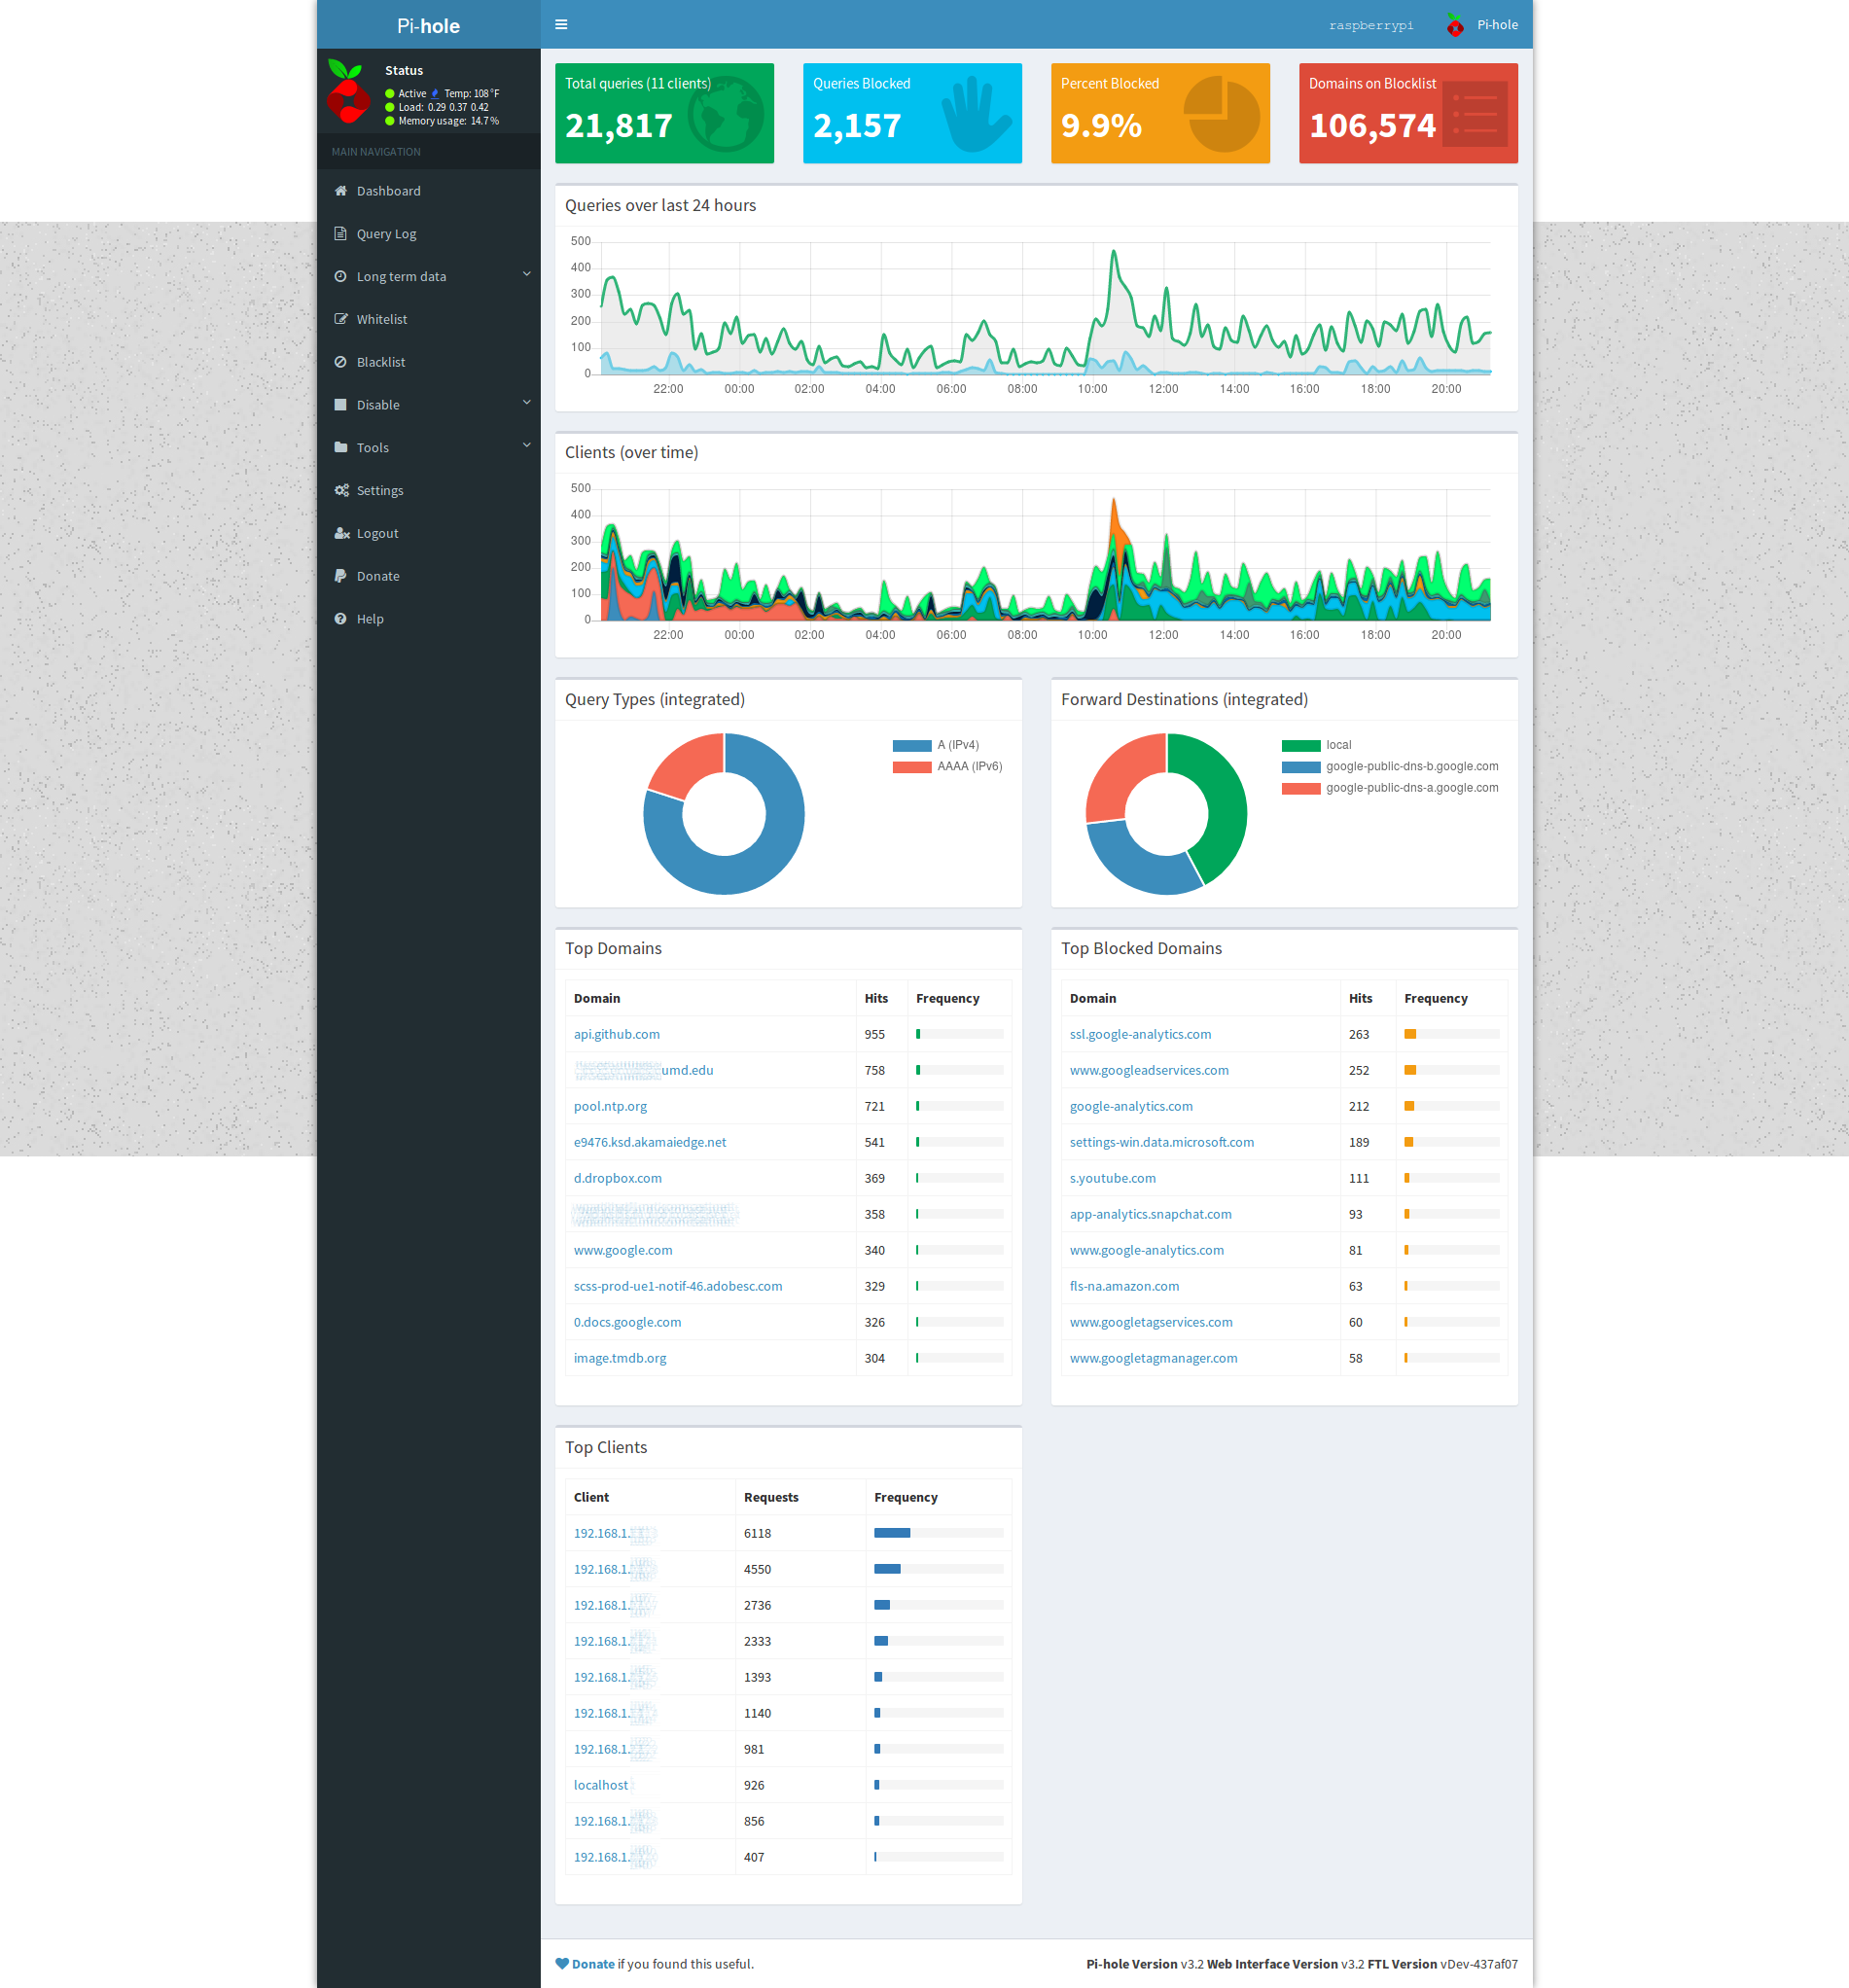
Once it’s installed and running, Pi-hole provides an easy-to-use admin dashboard at <ip>/admin.
This is what mine looks like after about a day of serving DNS requests:
This tutorial is going to cover setting up Pi-hole with Raspbian, since it’s officially supported and straightforward to install.
Download one of the Raspbian images from this page. I recommend the “Raspbian Stretch Lite” image unless you actually want/need a full X11 desktop on your Pi.
Unzip the image, and follow the installation instructions here.
If you have a keyboard and monitor to use with your Pi, you can skip the section immediately below.
If you’re doing a headless setup (no monitor/keyboard), you’ll need to tell Raspbian to enable
the SSH server. You can do this by mounting the boot partition on the SD card you just imaged
and creating a file named ssh. touch ssh works just fine.
ssh into your Pi. Remember that the default login is “pi”, password “raspberry”:
1
2
# Replace <ip> with your Pi's local IP address.
$ ssh pi@<ip>
Once the Pi is running and jacked into the network, use your router’s webinterface or a tool like
nmap to find your Pi’s IP address. Once you have it, give it a DHCP reservation — you don’t
want your DNS server’s IP to change.
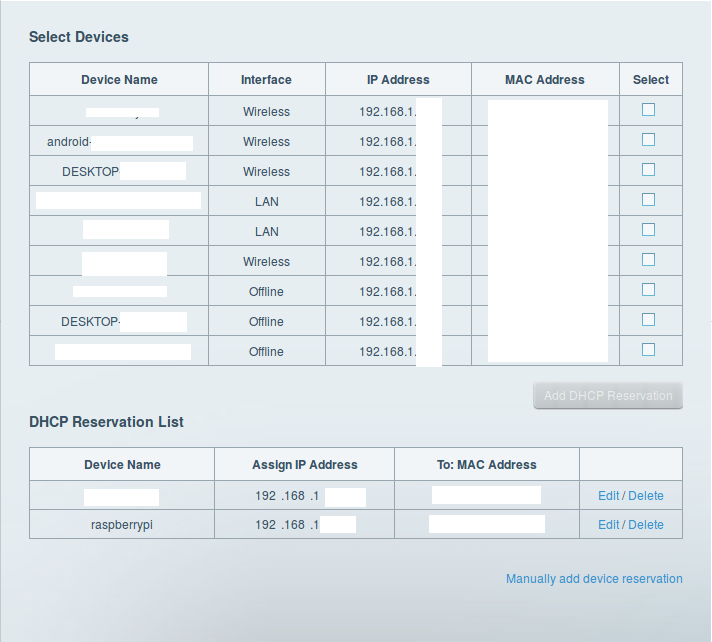 What your router’s DHCP table might look like.
While I was setting my Pi up, I noticed that Raspbian’s default /etc/resolv.conf pointed to
127.0.0.1.
That may or may not work for you, depending on how your local network is configured. If it doesn’t,
change it to 192.168.1.1 or whatever your router’s IP is. You’ll need DNS queries to go through
for the Pi-hole installation process.
I installed Pi-hole via git:
1
2
3
$ git clone --depth 1 https://github.com/pi-hole/pi-hole.git Pi-hole
$ cd "Pi-hole/automated install/"
$ sudo bash basic-install.sh
Fill out the prompts that pop up (they’re mostly common sense).
Make sure to note the admin password generated by the install process. You’ll need it to access
the admin console. If you missed it or forgot it, you can set a new one by running pihole -a -p.
Once the Pi-hole install script completes, you should be able to log into the admin console
in your browser at <ip>/admin.
Now all that remains is to modify your router’s default DNS server. The page should look something like this:
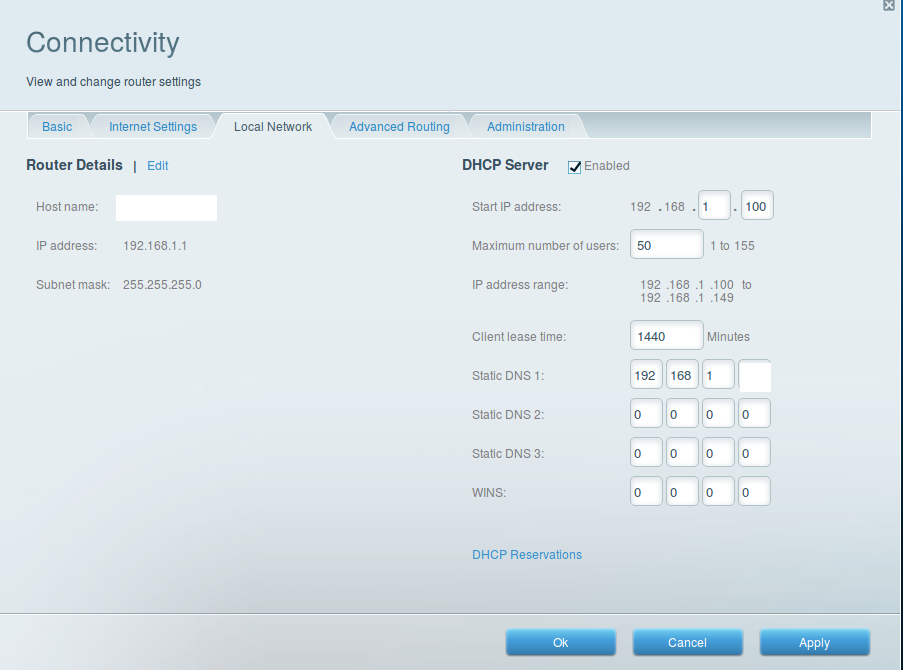 “Static DNS 1” is the Pi-hole.
Apply the changes to your router, and you should be good to go!
If some of your devices aren’t using your Pi-hole for DNS, make sure that they’re configured to accept DNS servers via DHCP. This is usually called “DHCP autoconfigure” or something similar in your networking preferences.
Maintaining a Pi-hole instance is pretty easy from the terminal:
1
2
# update Pi-hole itself, plus all blacklists
pihole -up
The “Tools > Update Lists” option in the admin console performs a similar function, but only updates the lists and not the whole suite.
I tried to make this tutorial pretty terse. As such, it may not be the best reference for installing Pi-hole on a Pi if you aren’t already familiar with Linux environments and home network administration. If you’re just getting started, this Lifehacker post will probably serve you better.